Boy's Day Celebration in Hawaii
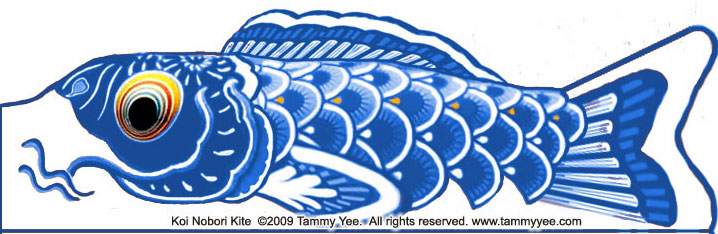
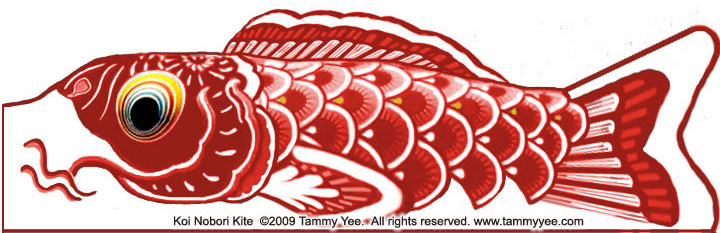
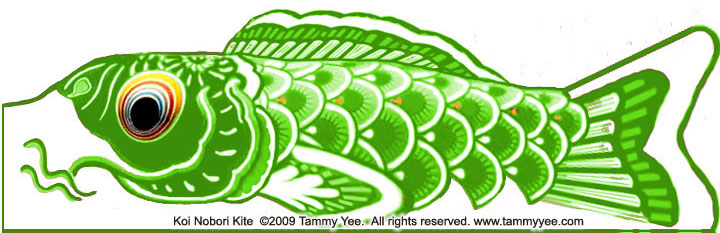
On May 5th, Japanese families throughout Hawaii display beautiful carp banners outside their homes. Called
koi-nobori, each streamer traditionally symbolizes a male in the household. The largest carp at the top represents the father, followed by the eldest son, while the littlest carp at the bottom represents the youngest boy.
Watching these colorful windsocks flapping in the wind reminds one of the vigor, strength and perseverance of the koi (carp) as they swim upstream against powerful currents. Koi are also known for their longevity. They can live for as long as 50 years in the wild and have been reported to live even longer in captivity. Thus the carp is a fitting symbol for the traits desired in sons.


Inside the house, families may display heirlooms such as swords, bows, arrows and special
musha-ningyo, or Boy's Day dolls, mirroring the dolls displayed during the Girl's Day Festival. Common are elaborate dolls of warriors and legendary heroes of strength and valor, some posed on beautiful horses. The earliest
samurai dolls date back to the
Edo period, during the18th century, when displays were commissioned by those in the samurai class. Originally, only men could fashion these samurai dolls, and their doll-making secrets were passed down from generation to generation.
Boy's Day evolved from the
Shinto iris festival, Shobu-no-sekku. Shobu is the Japanese word for the iris, and it also means "striving for success." The long narrow leaves of the plant resemble swords, which boys would sometimes use to stage mock sword battles. The iris is also thought to have healing powers, and families would hang iris leaves on their houses to ward off evil spirits. Today iris leaves are still used in making kashiwa-mochi, a traditional Boy's Day rice cake.

Print and Fold Boy's Day Crafts
Boy's Day Clip Art
Origami Koi-Nobori
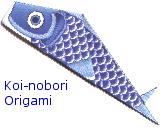
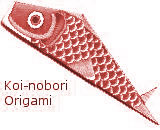
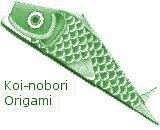
Make a
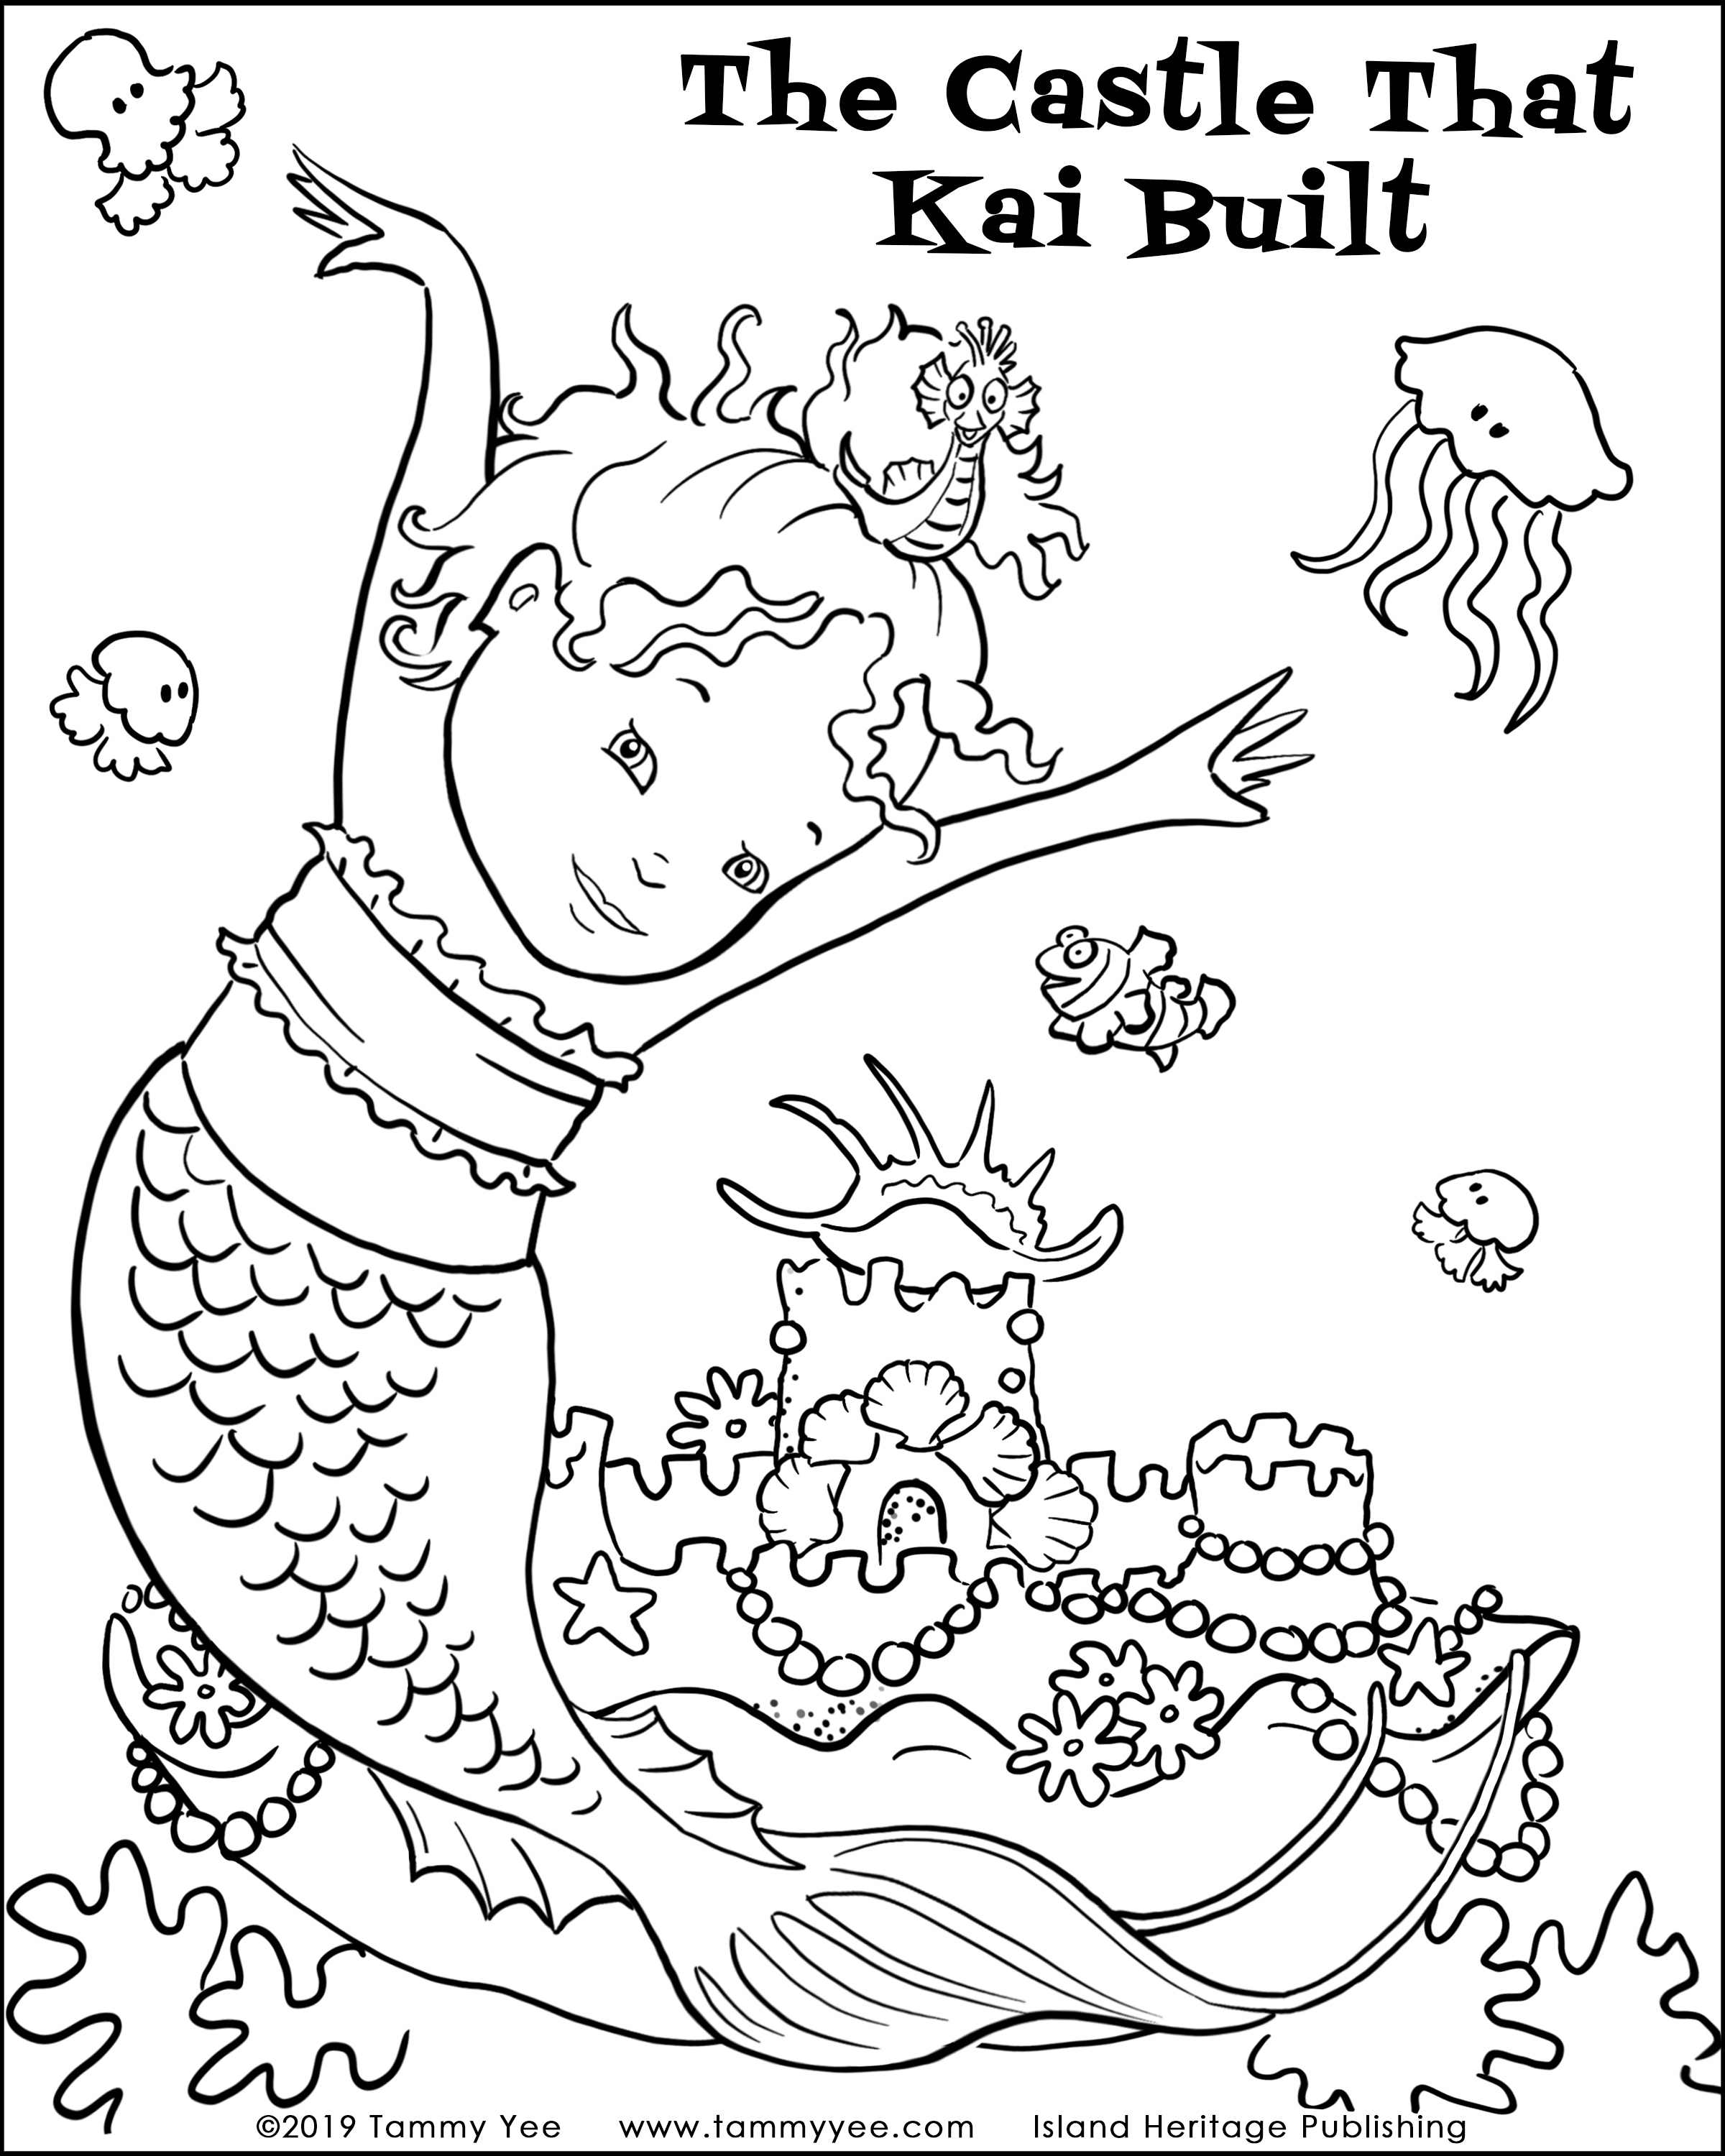
Koi Nobori, a Boy's Day carp kite on May 5th. Traditionally, a koi is flown for every male in the household, with the largest carp on the top representing the father.
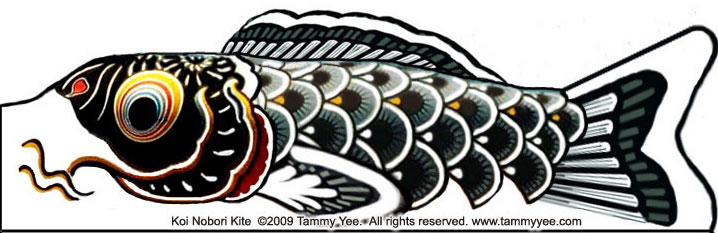
©2009 Tammy Yee